
Knowledge
Guide to Creating a Music Visualizer (Audio Waveform) in After Effects

After Effects Music Visualizer (Music Waveform) Creation Guide
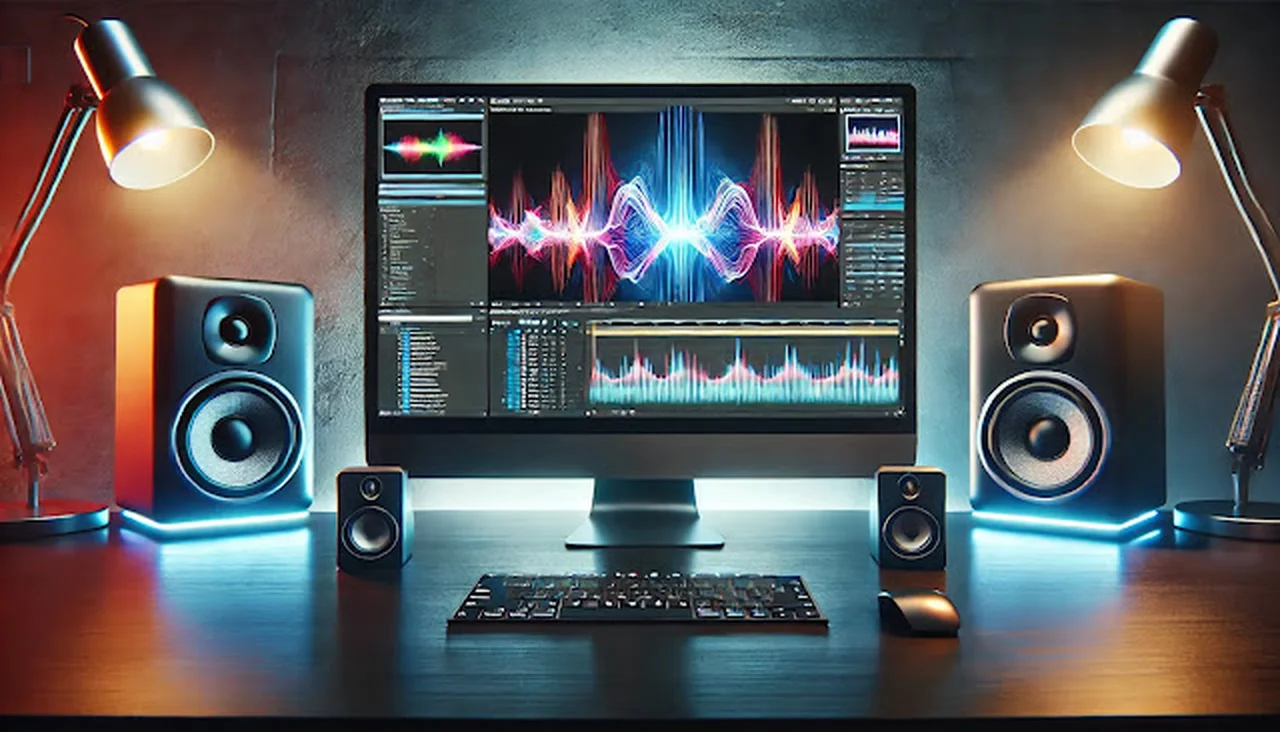
A Music Visualizer is a video effect that expresses the audio waveform (audio data) of music as visual graphics. Simply put, when music plays, bars or wave shapes move in real-time according to the volume and pitch of the sound—that’s the Music Visualizer.
After Effects is a video compositing and motion graphics program created by Adobe. It is used as an industry standard for adding effects to videos, creating title animations, and as we do today, creating music waveform visualizations.
A Music Visualizer works by reading the amplitude (loudness) of an audio file and connecting that value to the size or position of a graphics layer. After Effects has the Audio Spectrum effect and Audio Waveform effect built-in by default, making it possible to implement without any paid plugins.
| Effect Name | Characteristics |
|---|---|
| Audio Spectrum | Expressed as a bar graph by frequency band, frequently used in clubs and music channels |
| Audio Waveform | Expressed as waves like ripples, frequently used in podcasts and interview videos |
After Effects Music Visualizer (Music Waveform) Creation Guide Tutorial Usage
Before starting work, you only need two things: After Effects program (CC version or later) and an audio file to use. After Effects supports most audio formats including MP3, WAV, and AAC.
There are two ways to import an audio file into your project. The first is to drag and drop the audio file directly from File Explorer (Windows) or Finder (Mac) to After Effects’ Project panel. The second is to select File → Import → File from the top menu.
WAV format is recommended when importing audio files. Compared to MP3, there is no data loss, so the waveform is read more precisely and the effect response appears more clearly. You can get even better results by converting MP3 to WAV using a free audio conversion program (such as Audacity) before using it.
The Audio Spectrum effect and Audio Waveform effect are built-in default effects in After Effects, so you can search for and apply them directly from the Effect panel without separate installation. You can find them immediately by searching for “Audio Spectrum” or “Audio Waveform” in the Effects & Presets panel.
- ①Supported audio formats: MP3, WAV, AAC, AIFF, etc.
- ②Import file shortcut: Ctrl+I (Windows) / Cmd+I (Mac)
- ③New composition shortcut: Ctrl+N (Windows) / Cmd+N (Mac)
- ④Effect search panel: Top menu Window → Effects & Presets
- ⑤Apply effect method: Drag and drop the effect to a layer or double-click after selecting the layer
After Effects Music Visualizer (Music Waveform) Creation Guide Step-by-Step Setup Method
Now let’s create a Music Visualizer in earnest. Follow the steps below in order.
Create a New Composition
Select Composition → New Composition from the top menu. Think of a composition as the canvas for video work. Set the values to Width: 1920, Height: 1080, Frame Rate: 30fps, and Duration to match the audio length.
Add Audio File to Timeline
Drag the audio file loaded in the Project panel to the Timeline panel. When an audio layer is created at the bottom of the timeline, it’s normal. This layer will later serve as the sound data source for the waveform effect.
Create a New Solid Layer
You need a layer to serve as a canvas for placing effects. Right-click in the Timeline panel → New → Solid. Set the color to black (#000000) and make it the same size as the composition. The waveform effect will be placed on top of this solid layer.
Apply Audio Spectrum Effect
With the solid layer selected, click Effect → Generate → Audio Spectrum from the top menu. Alternatively, you can type “Audio Spectrum” in the effect search box and drag and drop it onto the layer. Once the effect is applied, waveform graphics will appear on the composition screen immediately.
Connect Audio Layer and Set Detailed Options
Find the Audio Layer item in the Effect Controls panel and specify it to the audio layer you added to the timeline earlier. This connection is the most important step. If you don’t connect it, the waveform won’t move. After that, adjust the waveform’s start/end position horizontally across the screen with Start Point and End Point, and set the bar height with the Maximum Height value (for example: 500).
Customize Color and Design
Change Inside Color and Outside Color in the Effect Controls panel to your desired colors to change the waveform color. In Display Options, you can choose from various visualization styles such as Digital, Analog Lines, and Analog Dots. Setting the Thickness value between 2 and 5 gives a clean line appearance.
| Setting Item | Recommended Value / Description |
|---|---|
| Audio Layer | Must be set to the audio layer placed on timeline |
| Maximum Height | Between 300-600 (adjust based on screen size) |
| Frequency Bands | 64-256 (larger numbers make bars more detailed) |
| Thickness | 2-5 (line thickness, adjust to preference) |
| Display Options | Digital (bars), Analog Lines (lines), Analog Dots (dots) |
After Effects Music Visualizer (Music Waveform) Creation Guide Workflow Tips
If you want to make your waveform visualizer even more impressive, try applying the following workflow tips. A little application can produce much more professional results.
The first tip is creating a symmetrical left-right waveform. Copy the solid layer once more (Ctrl+D), then set the Y value of Transform → Scale to -100 on the lower layer to create a mirror effect where the waveform is mirrored vertically. This is a style frequently seen on YouTube music channels.
The second tip is compositing with background video. Place a video or image as a layer in the background, and change the blending mode of the waveform solid layer to Screen or Add to create a refined compositing effect where the background is visible. You can change the blending mode from the Mode item on the left side of the layer in the Timeline panel.
You can also create circular waveforms by connecting the Audio Spectrum effect to a mask path. Draw a circular mask on the solid layer, then designate the Path item in the effect to that mask, and a circular Music Visualizer is created where the waveform spreads following the circle. This is especially effective for intro videos where the waveform surrounds a logo.
The third tip is applying color gradients. Setting Inside Color and Outside Color to different colors applies a gradient effect to the inside and outside of the bars. For example, setting Inside Color to white (#FFFFFF) and Outside Color to purple (#7c3aed) creates a refined gradient waveform.
The fourth tip is pre-generating audio cache before preview playback. First running Composition → Preview → Play Audio Only from the top menu (. shortcut) caches the audio, so in the subsequent RAM Preview (spacebar), the waveform and audio synchronize more accurately.
After Effects Music Visualizer (Music Waveform) Creation Guide Error Precautions
When creating a Music Visualizer, there are common mistakes that beginners often make. Knowing them in advance can save you considerable time.
If you’ve applied the Audio Spectrum effect but the waveform doesn’t move at all, 99% of the time the Audio Layer item in the Effect Controls panel is set to None. Be sure to select the audio layer you placed on the timeline. If you miss this setting, the waveform will be frozen in a static state with no response.
The second precaution is not placing the audio layer above the solid layer. In the timeline, the audio layer should be at the bottom and the solid layer with the waveform effect should be at the top for normal rendering. If the layer order is reversed, the composite result may not be as expected.
The third precaution is using unsupported audio formats. Occasionally, MP3 files with special compression codecs may not be read properly by After Effects. In this case, convert to WAV or AAC format using Adobe Media Encoder or a free conversion tool, then import again to resolve the issue.
The fourth precaution is when the composition length and audio length don’t match. If the composition Duration is shorter than the audio file, the music will be cut off midway, and if too long, there will be empty space at the end of the rendered video. When creating a composition, set the Duration to exactly match the audio file length.
Sometimes audio is missing when exporting (exporting) video. Click the Output Module settings in the Render Queue, and be sure to check if the Audio Output item is enabled. It may be disabled by default, so you must check it before final rendering.
Fifth, if you set the Maximum Height value too large, the waveform bars may overflow off-screen and not be visible. For composition resolution (1080p standard), it’s good to start with Maximum Height around 400-600 and adjust while checking the preview.
Create your first Music Visualizer right now!
With just one Audio Spectrum effect in After Effects, you can transform an audio file into a living, moving waveform video. Just remember these five steps: Create new composition → Import audio → Generate solid layer → Apply effect → Connect Audio Layer. Start today and complete your own music visualizer!