
3D Graphics
Where Did NVIDIA Control Panel Go? — A Breakdown of What Changed
Where Did NVIDIA Control Panel Go? — A Breakdown of What Changed
On May 27, 2026, NVIDIA officially ended development of GeForce Control Panel, which had been maintained for roughly two decades. Starting with driver 610.47, released that same day, the Control Panel no longer installs automatically during clean installations of Game Ready and Studio drivers. While you’ve probably seen posts claiming “the Control Panel disappeared,” that’s not quite accurate. It was removed from the default installation, but you can still download it from the Microsoft Store.
The settings functionality migrated to NVIDIA App. NVIDIA App launched in 2024 and consolidates GeForce Experience and Control Panel into a single interface. Driver installation, game and application settings, overlay, recording, 3D configuration, and display settings all live here now. Your existing Control Panel settings continue to work, but new features and bug fixes no longer reach the old Control Panel.
If you’re on RTX PRO (workstation) drivers, things are different. NVIDIA confirmed it will maintain Control Panel updates for professional workstation drivers because certain workstation-specific and enterprise management features still depend on it. If you’re running RTX PRO cards, you can keep using Control Panel without worry. That said, driver policies can change, so check the official documentation to stay current.
Most “NVIDIA Control Panel optimization” articles floating around the internet are based on the old UI. Tab names, menu paths, and option locations differ from the current NVIDIA App. This article references NVIDIA App as of August 2026, but UI may vary depending on driver version and GPU generation—if your screen looks different, defer to official NVIDIA docs.
| Legacy NVIDIA Control Panel | NVIDIA App Location | What It Controls |
|---|---|---|
| 3D Settings > Global Settings | Graphics > Global Settings | Global 3D Settings |
| 3D Settings > Program Settings | Graphics > Program Settings | Per-Application 3D Settings |
| Display Menu (all options) | System > Displays | Resolution, refresh rate, color, G-SYNC |
| Video Menu (all options) | System > Video | RTX VSR, RTX Video HDR, color correction |
Some advanced features—custom resolution and NVIDIA Surround, for example—still require Control Panel in certain setups. Whether NVIDIA App fully replaces everything depends on your specific environment, so verification is worth your time.
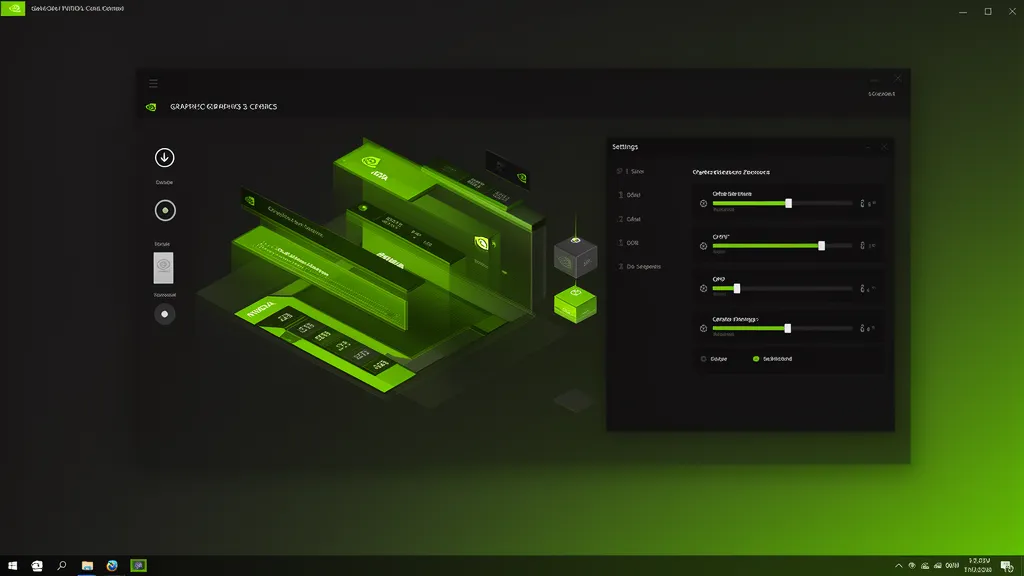
3D Settings — Core Configuration Values (NVIDIA App)
In NVIDIA App, 3D settings live under the Graphics tab. Global Settings apply to every application, while Program Settings target a specific executable. Since changing global settings affects everything from games to DCC software, the best practice is to leave global settings alone and apply per-application overrides only when needed.
There’s no one-size-fits-all answer for each setting. What matters is understanding when and why you’d adjust a particular value. The table below outlines recommended criteria and the reasoning behind them.
| Setting | Recommendation Criteria | When to Change It |
|---|---|---|
| Power Management Mode | Global: Keep at Normal | If a specific app shows GPU clock instability or frame time variance, set only that app to “Prefer Maximum Performance” |
| Low Latency Mode | Reflex-capable apps: Off / Unsupported apps: try Ultra | Latency-sensitive interactive environments; avoid setting global Ultra |
| Max Frame Rate | With G-SYNC: refresh rate minus 3 / Without: Off | Variable refresh rate to prevent tearing; manages power and thermals |
| Shader Cache Size | 10GB or Unlimited | Shader Compilation Stuttering: What to Do When Disk Space Is Plenty |
| Texture Filtering Quality | Quality (default setting) | No reason to deviate from defaults here |
| Thread Optimization | Auto | Manual tuning only in specialized scenarios |
Setting Power Management Mode globally to “Prefer Maximum Performance” keeps the GPU clock running at higher frequencies, which can reduce micro-stutters caused by load fluctuations. The trade-off is increased power consumption and heat output. If you’re working on a laptop running on battery, stick with Balanced or Optimal power settings instead.
Shader cache gets wiped automatically during driver updates. The first launch after an update triggers shader recompilation, so temporary stuttering is normal behavior. Regularly clearing the shader cache actually invites repeated stuttering—don’t do it unless you’re actively troubleshooting a specific issue.
From the 3D Software Perspective (Maya, Blender, etc.) — What to Touch and What to Leave Alone
GPU renderers (Arnold GPU, Octane, Redshift, V-Ray GPU, Cycles) manage their render calculations independently through CUDA or OptiX backends. This means NVIDIA App’s 3D global settings—texture filtering, low-latency mode, and the like—have almost zero impact on GPU render speed. If you want to boost render performance, check the render device, sample count, and OptiX versus CUDA selection inside the software first, before fiddling with driver settings.
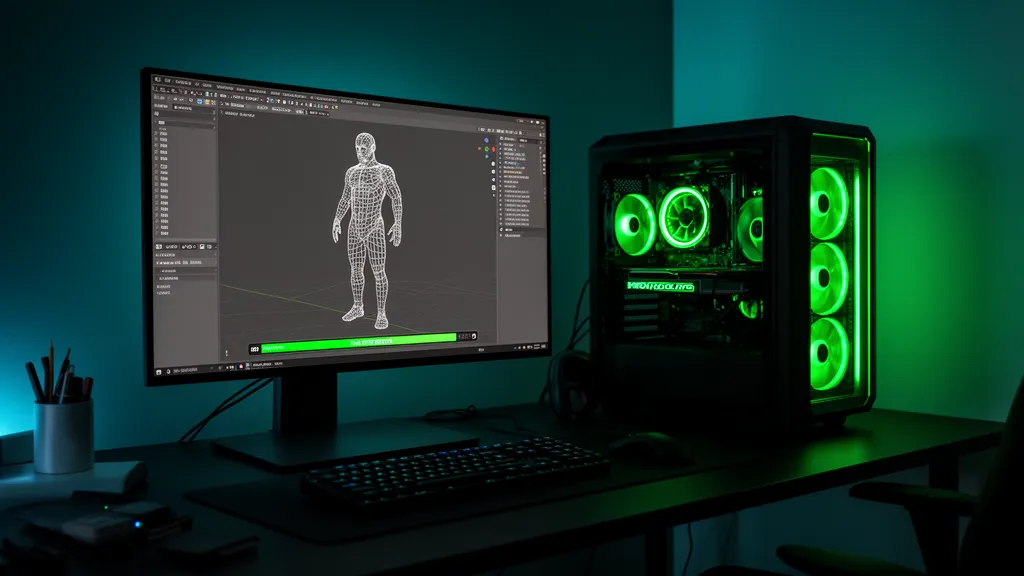
Viewports are different. Maya and Blender viewports talk directly to the driver, so driver settings directly affect viewport performance and stability. This is why you check driver settings when the viewport starts stuttering or crashing.
Blender supports OptiX on RTX cards, and OptiX leverages hardware RT cores, which often makes it faster than CUDA. That said, not every renderer follows this pattern universally—it’s a general trend in Blender specifically. Check your renderer’s settings within the software to be sure.
| Scenario | What to Do in NVIDIA App | What to Do Inside the Software |
|---|---|---|
| Boost GPU renderer performance | Almost nothing | Adjust render device, OptiX/CUDA selection, tweak samples |
| GPU renderer can’t find the GPU | Check “Use for Graphics and compute needs” in Program Settings or Control Panel | Re-verify render device settings |
| Viewport glitching or unstable | Update driver, set that app only to “Prefer Maximum Performance” | Check viewport shader and cache settings |
| DCC grabs integrated GPU on laptop | In Program Settings, select that app and assign NVIDIA GPU | Re-check render device |
When Arnold GPU doesn’t recognize your GPU, Windows might be classifying it as “graphics only,” blocking CUDA apps from accessing it. Switch to “Use for Graphics and compute needs” in Control Panel’s “Manage GPU Utilization.” See the FAQ below for details.
You can switch between Studio and Game Ready drivers in NVIDIA App’s Drivers tab. Studio drivers are often considered more stable for 3D and CG work, but calling them “always better” is a stretch. Driver choice depends on your software versions, renderers, and workstation setup, so check what’s current for your particular config.
Display Settings — Resolution, Color, and Refresh Rate
Display settings live in the NVIDIA App under the System tab, Displays section. This is where you adjust resolution, select refresh rate, rotate your display, and manage multiple monitors. Note that on laptops, this section only appears when an external display is directly connected to your NVIDIA GPU.
If you’re running a high refresh rate monitor, you need to max out the refresh rate in two places: the NVIDIA App and also Windows Settings → System → Display → Advanced Display Settings. These two control paths operate independently sometimes, so it’s worth checking both to make sure they’re synchronized.
The settings that hit CG artists hardest are output color format and output dynamic range. Default values are often wrong, so take a moment to verify yours.
| Setting | Recommended | Why It Matters for CG Work |
|---|---|---|
| Output Color Format | RGB | YCbCr applies color space conversion during output, degrading monitor accuracy |
| Output Dynamic Range | Full (0–255) | Limited range (16–235) crushes blacks and clips white peaks |
| Color Depth | 10-bit per channel if your monitor supports it | Reduces gradient banding and improves color accuracy |
| G-SYNC / G-SYNC Compatible | G-SYNC monitors: enable it / FreeSync: verify compatibility before using | Minimizes viewport tearing during scrolling and panning, reducing screen artifacts while working |
If your output dynamic range is locked to 16–235 (limited range), blacks will crush on a PC monitor and bright areas will clip. This throws off your color and contrast judgment when reviewing models and references during CG work. The 16–235 range is the TV and broadcast standard—PC monitors need 0–255 (Full). Takes one minute to check.
G-SYNC Compatible works on FreeSync monitors and doesn’t require official NVIDIA certification to enable. Certification is really just a marketing label—actual performance is separate. Turning on G-SYNC or G-SYNC Compatible noticeably reduces tearing when you’re panning the viewport or rotating objects.
Video Settings — RTX VSR and Color Correction
Video settings live in the NVIDIA App under System tab → Video section. This is where you configure RTX Video Super Resolution (RTX VSR), RTX Video HDR, and video color correction.
RTX VSR is AI-powered upscaling using the tensor cores on your RTX GPU. It reduces compression artifacts in low-resolution video and sharpens the output. It works on streaming content like YouTube and Netflix, local files, and Chromium-based browsers (Chrome, Edge). Quality settings run from 1 to 4, with 4 being the heaviest GPU load.
RTX VSR at level 4 hits your GPU hard. If you’re rendering in parallel or your GPU is already maxed out, dropping to a lower setting makes more sense. Also, VSR works best on footage with decent detail—don’t expect it to fully recover a 240p video into crisp high-res footage.
RTX Video HDR converts SDR video to HDR-like playback using AI, with intensity controlled by a slider. For color-critical monitoring work, it’s best to leave this off. Always judge your source material against unprocessed playback.
Video color correction settings apply only to Windows local playback apps—they don’t affect streaming services. You can adjust dynamic range, gamma, and saturation here. If you’re constantly reviewing local video previews, make sure these settings stay close to defaults.
FAQ
Did NVIDIA Control Panel get completely removed? Can I still install it?
It wasn’t removed—starting with driver 610.47 in May 2026, it’s no longer included in the default GeForce Game Ready/Studio driver installation. You can still grab it from the Microsoft Store, and existing installations continue to work fine. Just don’t expect new features or bug fixes to land in Control Panel anymore. Those changes moved to NVIDIA App.
Do my old Control Panel settings automatically carry over to NVIDIA App?
Auto-migration depends on your install environment and driver version, so there’s no guarantee your Control Panel tweaks will sync to NVIDIA App. When you first launch NVIDIA App, take a few minutes to manually verify critical settings—power management mode, output dynamic range, and the like.
Do GPU renderers (Octane, Redshift) conflict with or get affected by driver control panel settings?
GPU renderers manage their own CUDA or OptiX backends, so NVIDIA App’s global 3D settings (texture filtering, low-latency mode, etc.) don’t directly impact render performance. However, if Windows flags your GPU as “graphics only,” CUDA programs might not recognize it. In that case, check your Control Panel or NVIDIA App GPU usage settings and make sure it’s set to “Graphics and Compute.” The exact location varies by driver version, so refer to NVIDIA’s official docs.
The shift from NVIDIA Control Panel to NVIDIA App is a UI refresh, not a fundamental change in how settings work. As a 3D artist, there are two things you actually need to care about.
First: GPU renderers (Arnold, Octane, Redshift, Cycles, etc.) barely notice driver-level 3D settings. Render performance is controlled inside the software itself. Tweaking driver settings to boost render speed usually doesn’t work, and wrong global settings can actually hurt viewport stability. The driver’s real job is narrower—per-app power management, shader cache, and GPU selection on laptops.
Second: Display (output color RGB + full dynamic range 0–255) and video (knowing when to use RTX VSR) directly affect your monitoring quality, which is the foundation of good color decisions. Check these two areas whenever you install fresh drivers or change your setup. Remember to turn VSR off when you’re checking references.
The internet is full of “NVIDIA optimization” guides written for gaming and based on old Control Panel UI. Don’t follow them blindly for 3D work. Before changing any setting, understand how it actually reaches your viewport and render path.
- Starting May 2026 (driver 610.47), Control Panel no longer ships with GeForce drivers by default. Still available on Microsoft Store.
- 3D settings moved to NVIDIA App → Graphics tab. Display and video settings moved to System tab.
- RTX PRO (workstation) drivers still get Control Panel updates.
- GPU renderers use CUDA/OptiX internally, so driver-level 3D global settings have minimal impact on them.
- Only check driver settings for viewport stability, GPU selection on laptops, and power management.
- Output dynamic range should be RGB + Full (0–255). 16–235 is TV spec and crushes blacks on PC monitors.
- Turn RTX VSR off when doing critical video monitoring or checking references.
- NVIDIA App’s UI layout and option names vary by driver version and GPU generation.
※ This article is based on public documentation and real production environments. References: NVIDIA Official Statement (2026-05-27), NVIDIA App and Control Panel Help, Blender 5.2 LTS Manual, and Autodesk Arnold official docs. UI locations and labels vary by driver and GPU, so check NVIDIA’s official documentation alongside this guide.