
3D Graphics
From Personal Creative Projects to Employment – Why You Should Learn Blender Now
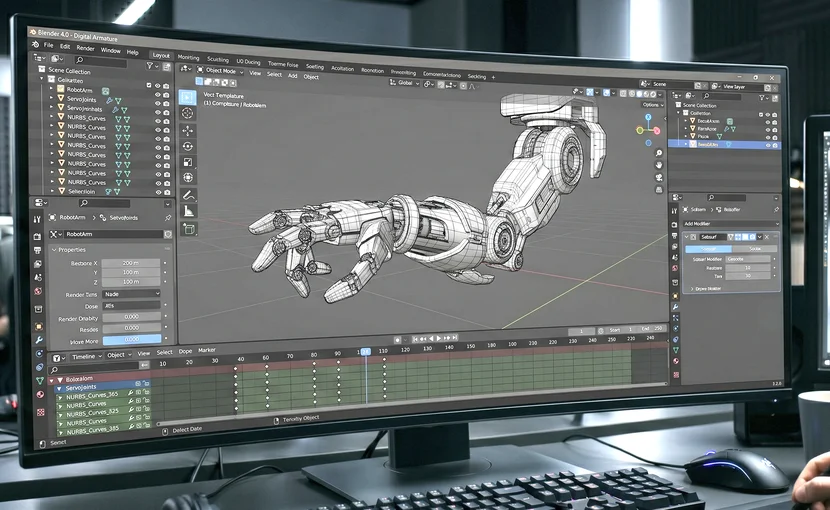
From Personal Creation to Employment – Why You Should Learn Blender Now
Blender is free software that can handle all stages of 3D work in one program: 3D modeling, texturing (applying paint), lighting, shading (light expression), and rendering (final image generation).
As of 2026, Blender has surpassed version 5.0, and with each major update, it becomes more powerful. It’s already being used as a standard tool in film, game, animation, and advertising production.
The most important point is that Blender is completely free. You can have professional-level tools at your fingertips without any cost.
What is Blender and Why Should You Learn It Now?
Blender is actually famous for its basic tutorial called the “Rainbow Donut”. Millions of beginners have learned Blender’s fundamentals by making this donut.
Why this donut? Because completing one donut encompasses all the core techniques of 3D. You learn to create shapes, add curves, create surfaces, apply colors, set lighting, and generate the final image—everything.
The proof that beginners can do it is already validated. The reason Blender remakes this donut tutorial with each new version release is to demonstrate how effective it is.
What Doors Open When You Learn Blender?
- ①Personal Creation—Create 3D videos for your YouTube channel and portfolio directly
- ②Freelance Work—Monetize through motion graphics and 3D modeling projects
- ③Full-time Employment—Get hired as a 3D artist at game companies, film studios, and VFX studios
- ④Additional Skills—Acquire differentiated abilities as a designer or marketer
Getting Started with Blender – How to Use Tutorial Materials
Blender learning has abundant official tutorials and community resources. As of 2026, here’s the most effective learning path.
The Best Learning Resources
| Learning Category | Recommended Resource |
|---|---|
| Basic Interface | CG Cookie Fundamentals Course (Free, updated for each version) |
| Donut Tutorial | Official Blender 5.0 Donut Tutorial (Video) |
| Advanced Learning | CG Cookie Subscription or Super Hive (Paid) |
| Specific Topics | YouTube channels: Southern Shoddy, CG Cookie |
CG Cookie is not just a tutorial channel. It covers the entire workflow from object editing to scene lighting, and updates lectures with each new version release. This means what you learn stays current.
The company that owns CG Cookie also operates Super Hive, where you can purchase individual courses. If subscription feels burdensome, you can select and learn only the courses you need.
The best way to start learning Blender is to build your foundation with the official donut tutorial, then find advanced courses matching your area of interest (motion graphics, character modeling, environment design, etc.). This keeps your learning motivation sustained.
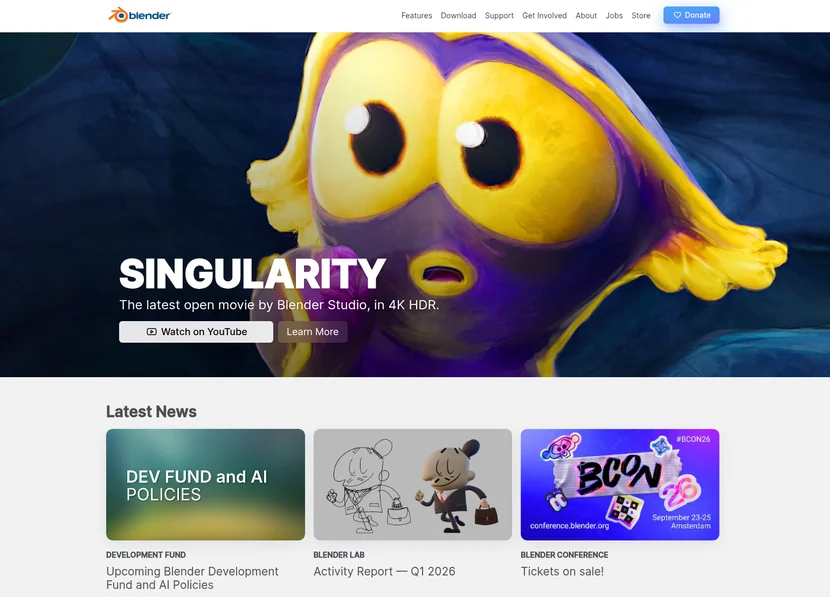
Blender Basic Setup and Getting Started
Step 1: Download and Install Blender
- Visit blender.org.
- Click the large download button.
- If you’re a Windows user, you’ll receive an executable file (.exe). Double-click to install.
- If you’re a Mac user, you’ll receive an application file. Drag it to the Applications folder to install.
- Can’t install on a school or company computer? Download the portable ZIP version and simply extract it—you can run it directly from that folder.
Step 2: First Launch and Basic Setup
When you open Blender, a splash screen appears. Click anywhere outside this screen to close it.
Now you see that large gray area. This is the 3D viewport—your workspace in the 3D world. You’ll spend 98% of your time here.
Step 3: Essential Setup for 4K Monitor Users
If you use a 4K monitor, Blender’s text and icons will appear very small. Set it up as follows:
- Click Edit > Preferences in the menu.
- Find Interface in the left sidebar.
- Increase the Resolution Scale value to 1.5 or higher. The recommended value is 1.8.
- When following tutorial videos, setting it higher will make the screen appear clearer.
Setting the resolution too high will make the UI larger instead, making work difficult. Start in the 1.5~1.8 range and adjust to your comfort level.
Blender Workflow Core Tips
First: Viewport Navigation (Most Important)
The very first thing you should learn in Blender is how to navigate in 3D space. If this isn’t comfortable, all your work will feel frustrating.
- ①Orbit: Press and drag the mouse middle button. (Clicking the scroll wheel is the middle button)
- ②Pan: Hold Shift and drag the mouse middle button. You can move to different locations.
- ③Zoom: Scroll your mouse wheel up and down. Or hold Ctrl and drag the middle button.
Using a laptop trackpad? There’s a small circular icon (gizmo) in the upper right. Hover your mouse over it and click and drag—you get the same effect. You can also hold Alt and drag the left mouse button for orbit movement.
Second: Finding Your Direction
When doing 3D work, you often lose track of which direction you’re looking. You might even see things upside down. That’s when you use the Axes Gizmo.
In the upper right, you’ll see a colored circle and lines. This represents the X-axis (red), Y-axis (green), and Z-axis (blue). Click the Z-axis (blue) to automatically return to a top-down view angle.
Third: Shortcut Keys Organized
Blender has many shortcut keys. You don’t need to memorize all of them. The official tutorial provides a free Google document with the most frequently used shortcuts.
Print this document and stick it on your wall—your learning speed will significantly improve. Many people use this method.
In the early learning stages, using menus instead of shortcuts is fine. Each time you click a menu with your mouse, the shortcut key automatically displays on screen, so you learn naturally.
Fourth: Understanding the Interface
The Blender screen is divided into three main areas.
| Area | Role |
|---|---|
| 3D Viewport (Center) | Your 3D workspace. You spend 98% of your time here. |
| Properties Panel (Right) | Where you adjust detailed settings of selected objects. |
| Outliner (Upper Right) | Shows a list of all objects in your project. |
Common Errors and Solutions When Learning Blender
Mistake 1: Starting Without Mouse Setup
Learning Blender is very difficult with only a trackpad or touchpad. Especially since you need a middle button, which is unavailable or inconvenient on trackpads. If possible, prepare a mouse. A USB mouse can be purchased for under 10,000 won.
If you don’t have a mouse, enable “3 Button Mouse Emulation” in preferences. You can find it in Edit > Preferences > Input.
Mistake 2: Following Old Tutorials
Blender updates continuously. Following a 5-year-old tutorial might have different menu locations or features.
Always choose the latest tutorials as of 2026, especially courses targeting Blender 5.0 or later. CG Cookie updates lectures with each new version, so it’s reliable.
Mistake 3: Giving Up While Trying to Memorize Shortcuts
Don’t try to memorize all of Blender’s shortcuts from the start. You can use menus initially. With repetition, you’ll learn naturally. When pressed for time, refer to the official shortcut guide.
Mistake 4: Proceeding Without Knowing Rendering Settings
Blender has several render engines: Cycles, Eevee, Workbench, and others.
The donut tutorial uses Cycles. If you don’t select the right engine from the start, your results will look different from the tutorial. Check the render engine settings in the properties panel on the right.
Mistake 5: Not Saving Frequently
Blender can unexpectedly close while you’re working. Build a habit of saving every 15 minutes.