
AI Tools
Microsoft’s Trellis 2 (TRELLIS.2) Converts 2D Images to 3D Assets – High-Quality 3D Modeling
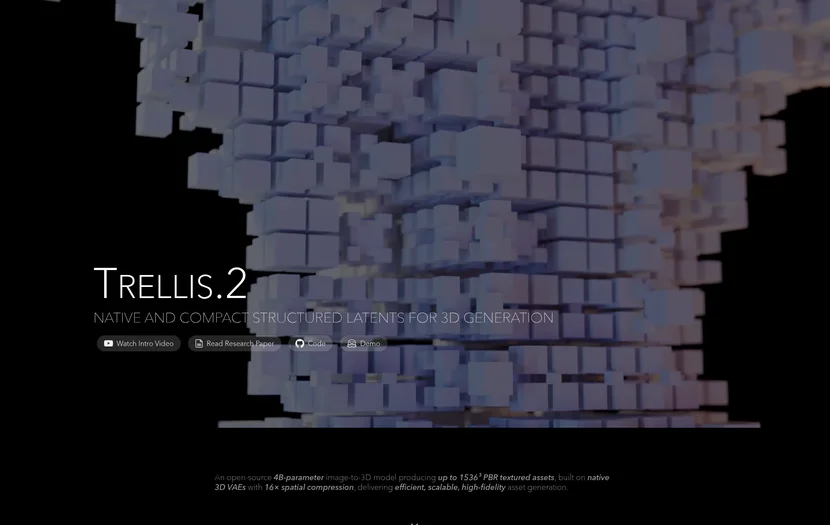
What if you could create a 3D model that can be used in games or 3D applications with just a single photo you took casually? Microsoft’s Trellis 2, which has transformed the way models must be created through painstaking modeling, is an AI technology that makes this a reality. If you read this article, anyone can learn how to convert 2D photos into 3D assets, so you’ll be able to follow along step by step. Let’s go~!!
Microsoft’s Trellis 2 (TRELLIS.2) Converts 2D Images into 3D Assets
Trellis 2 is an AI technology released by Microsoft in 2026 that converts a single flat photograph into a high-quality 3D model. It’s like magic—a 2D image transforms into a 3D solid object. More precisely, this technology uses a special AI architecture called “flow matching transformer” with 4 billion parameters (numerical values that AI learns).
The name sounds difficult, but you can simply think of it as “an AI that analyzes images and creates 3D structures“.
The 3D models created by Trellis 2 are not simple forms. They include complex surface structures, sharp edges, and realistic material information called PBR (Physical-Based Rendering)
PBR materials mean accurately expressing how various materials like metal, plastic, fabric, and glass reflect light. Additionally, transparency and translucency can be expressed, so objects like glass cups, water bottles, and translucent curtains can be created properly.
The core of this technology is the use of an innovative structural method called ‘O-Voxel’. A voxel is the minimum unit of 3D space, and instead of performing complex mathematical calculations like traditional methods, 3D models are composed of simple cube units. This allows for faster and more accurate 3D model creation.
Microsoft’s Trellis 2 (TRELLIS.2) Converts 2D Images into 3D Assets – Tutorial Usage
Using Trellis 2 is simpler than you might think. Since it provides a web-based interface, there’s no need to install special software. You can access it through Microsoft’s official GitHub (github.com/microsoft/TRELLIS), and you can also use demos on AI platforms like Hugging Face.
The entire process proceeds as follows. First, when you upload a photo, the AI analyzes the image.
At this point, the AI learns the shape, color, texture, and light and shadow of the object in the photo.
Next, the AI generates a 3D model based on the information it has learned.
Finally, you can download the generated 3D model and use it in game engines or 3D editing software. Since the entire process is fully automated, anyone can do it without specialized knowledge.
Microsoft’s Trellis 2 (TRELLIS.2) Converts 2D Images into 3D Assets – Step-by-Step Setup Method
- Accessing Microsoft GitHub
Open a web browser and access github.com/microsoft/TRELLIS or the TRELLIS.2 demo page on Hugging Face. This site is the official interface where you can use Trellis 2 online for free. - Preparing the Image for Conversion
Select a photo you want to turn into 3D. For the best results, check the following conditions: a photo with a clear background (if the background is complex, it’s difficult for AI to recognize the object accurately), a photo with the object centered in the image, and a photo with appropriate lighting so the details of the object are clearly visible. - Selecting and Uploading the Image File
Click the “Upload Image” or “Select File” button and select a JPG or PNG format photo from your computer. Usually, a file size of 5MB or less is recommended. Once you select a file, the upload will start automatically. - Starting Processing
Click a button like “Start Conversion” or “Generate 3D”. At this point, the AI begins to analyze the image and generate the 3D model. Processing usually takes 1 to 5 minutes, so just wait. The progress will be displayed on the screen. - 3D Model Preview
When generation is complete, you can view the 3D model in real-time on the web page. You can rotate the model by dragging with the mouse, and you can also zoom in and out. Try adjusting the size by scrolling or using pinch gestures. It’s good to examine the model from various angles to check the quality. - Downloading the 3D File
If you like the model, click the download button. Usually, you can save in formats like OBJ, GLB, or FBX. GLB format is recommended because it includes all information about the 3D model (shape, material, texture) in a single file. Download usually takes about 1-2 minutes. - Importing into Game Engine
You can use the downloaded 3D model in game engines like Unreal Engine or Unity. For Unreal Engine, right-click in the Content Browser, select the “Import” menu, and select the downloaded GLB file. In the import options, check “Import Materials” and “Import Textures” to ensure all material information is imported together. - Optimizing the Model if Needed
After importing into the game engine, you can reduce the number of polygons in the model to optimize performance if needed. This is especially important for mobile games or VR applications. You can adjust the “LOD (Level of Detail)” settings in Unreal Engine, or simplify the model in an external 3D editing program like Blender.
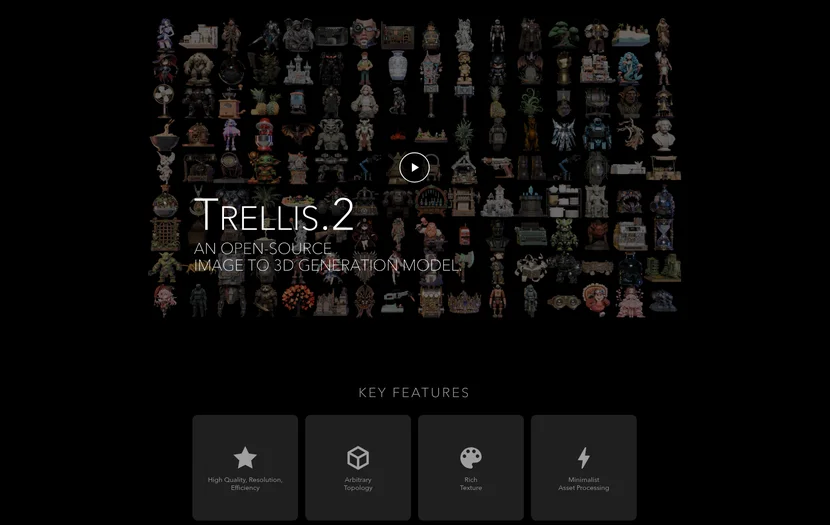
Microsoft’s Trellis 2 (TRELLIS.2) Converts 2D Images into 3D Assets – Workflow Tips
- ① Keeping the Background Simple — Trellis 2 focuses on the main object in the photo. The more complex the background, the harder it is for AI to recognize the accurate shape of the object. If possible, it’s best to photograph the object in front of a white or black background, or prepare by cropping the background.
- ② Trying Photos from Multiple Angles — Upload photos of the same object taken from various angles to Trellis 2 separately. The quality of the 3D model the AI creates may differ for each photo, so you can select the best result.
- ③ Photographing with Clear Lighting — If the photo has too many shadows, it’s difficult for AI to judge the actual shape of the object. It’s important to photograph in a place with good natural light, or adjust the lighting so the details of the object are clearly visible.
- ④ Checking the Polygon Count of Generated Models — If the downloaded 3D model has too many polygons (triangles), it can slow down the game. You can check the polygon count in 3D editing software and, if necessary, reduce it using the “mesh optimization” feature. For game development, typically 100,000 to 500,000 polygons are appropriate.
- ⑤ Checking PBR Material Information — The model generated by Trellis 2 already includes material information (metallicity, roughness, reflectance). When importing into a game engine, it’s best to download in GLB or FBX format so this information isn’t lost.
- ⑥ Testing on Multiple Platforms — The same 3D model may be displayed slightly differently depending on the game engine. Import the model into both Unreal Engine and Unity to see which platform gives you better results.
If you want high-quality 3D models, use photos taken with a high-resolution camera. A regular smartphone camera is fine too, but if possible, prepare a clear photo of at least 12 megapixels, which helps the AI create more accurate models.
Microsoft’s Trellis 2 (TRELLIS.2) Converts 2D Images into 3D Assets – Error Warnings
If you upload a photo with a very complex background or many people together, the AI may not properly recognize the main object. For example, if you upload a street photo with crowds, the AI might be confused about what to make into 3D. In this case, remove only the main object and remove the background, or try a photo from a different angle with a simpler background.
For transparent objects like glass cups or transparent water bottles, the model created by Trellis 2 may look slightly different from the actual shape. This is because it’s difficult for AI to perfectly understand the shape of transparent parts. After confirming the generated model, it’s good to manually edit it in 3D editing software like Blender if needed.
If the photo is very small or low resolution (below 1000 pixels), the detailed texture (surface patterns or designs) of the generated 3D model may be inaccurate. If possible, use a clear photo of at least 1024×1024 pixels.
After importing a 3D model into the game engine, the size of the model may be different from expected. This is because there is no information about the actual size of the object in the original photo. After import, you must manually adjust the “Scale” or “Size” value. In Unreal Engine, you can adjust the Scale value between 0.5 and 2.0 in the Transform section of the Details panel.
Different game engines support different 3D file formats. Unreal Engine supports FBX, GLB, and OBJ, but Unity supports FBX best. You can download in the format suitable for your desired game engine, or convert the file format in free 3D software like Blender.
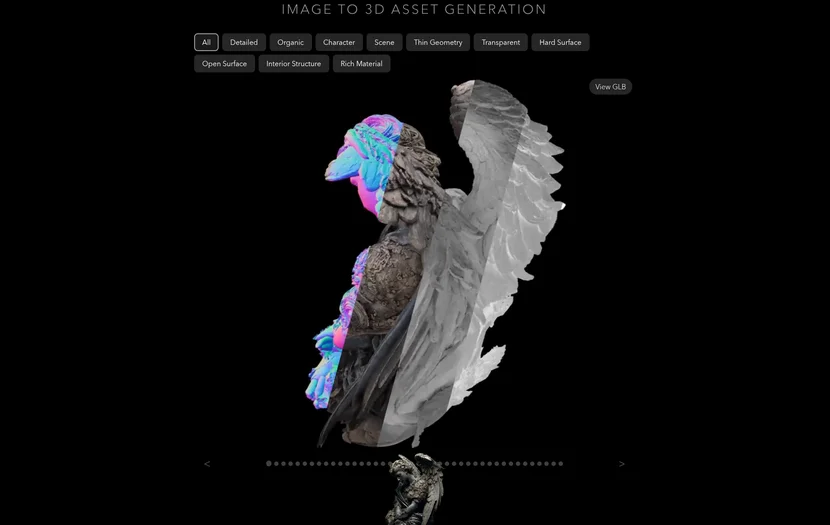
Trellis 2 has completely automated the process of converting 2D photos into 3D models. Prepare a photo with a clear background, upload it to the web interface, and wait a few minutes to get a 3D asset ready to use right away in games or 3D applications. While there are limitations with transparent objects or complex backgrounds, it works surprisingly well for modeling typical objects. The most important thing is preparing quality photos and optimizing the generated model for your game engine.
Get started right now!
Visit Microsoft’s official GitHub or Hugging Face and convert your photos into 3D models. Even first-timers can create amazing 3D assets in under 5 minutes.